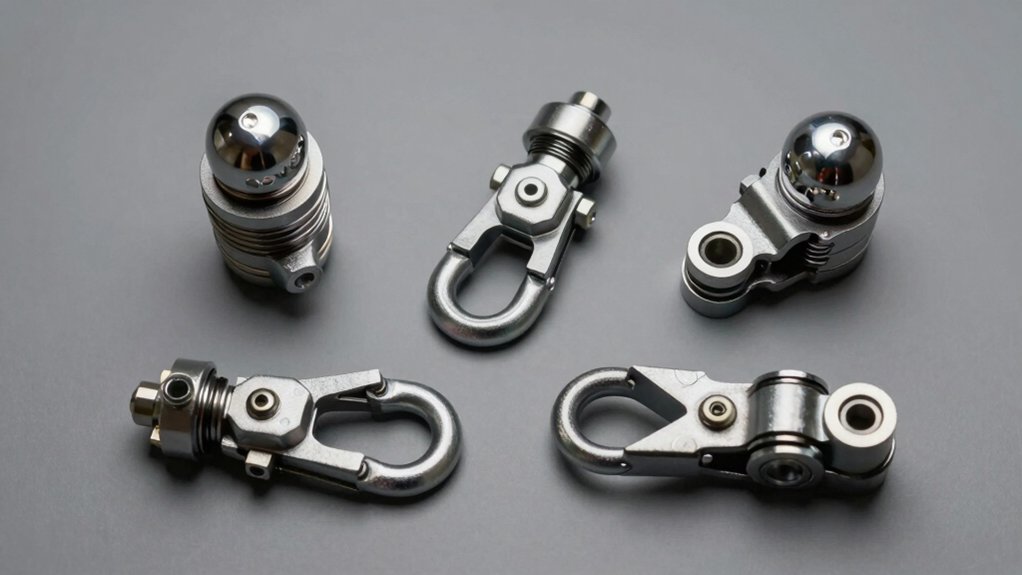
You’ll eliminate receiver hitch rattle by addressing metal-on-metal contact and excessive play between your receiver and hitch insert. Spring-loaded pins offer tool-free installation for standard towing, while threaded pins provide custom tightening for heavier loads. Hitch tightener clamps deliver permanent grip with forged steel construction. DIY shims using license plate metal or electrical tape work quickly and cost almost nothing. U-clamp stabilizers combine affordability with durability. Your best solution depends on your towing demands and whether you want temporary or permanent fixes.
Why Your Hitch Rattles and Why It Matters
That persistent rattle you’re hearing from your hitch isn’t just annoying—it’s a symptom of “slop,” the excessive free play that develops between your receiver and hitch insert. Metal-on-metal contact gradually widens this gap, creating the creaks and rattles you notice on bumpy roads.
Your receiver inspection protocol should start with a simple wiggle test. Grab the hitch insert and check for movement—even minimal play signals developing slop. Use this rattle diagnosis checklist: listen for noise during acceleration, braking, and over rough terrain; observe if exhaust pipes contact the hitch; note whether the towed vehicle sways unpredictably. Installing an anti-rattle hitch pin creates pressure between the hitch accessory wall tubing and receiver wall to prevent this side-to-side and up-and-down movement. Anti-rattle clamps use a gate mechanism or adjustable wings to squeeze the hitch shank firmly in place, providing more complete stabilization than traditional pin-style immobilizers. Proper installation and maintenance ensures these devices deliver optimal performance and longevity throughout their service life.
This slop matters because it amplifies movement throughout your towing system. A fraction-inch gap at the receiver magnifies into inches of sway at the towed vehicle, reducing your control and consuming fuel.
Four Anti-Rattle Solutions Compared
Now that you’ve diagnosed your hitch rattle, you’ll want to explore the most effective fixes on the market. You’ve got several proven options, each with distinct advantages depending on your setup.
The etrailer Anti-Rattle Hitch Collar uses a gate mechanism to squeeze your shank against the receiver, eliminating vertical and horizontal movement through friction. This clamp style design is particularly effective in extreme towing situations where pin-style immobilizers may not fully address forward-backward and up-and-down movement. The B&W Anti-Rattle Clamp specifically fits 2-inch receivers and reduces noise transmission effectively. For 3-inch setups, GenY’s device applies targeted pressure, though tailoring anti-rattle fit matters since it’s incompatible with certain configurations. BlueOx performs adequately across various immobilizer tests, minimizing friction loss while maintaining stability.
MaxxHaul offers affordable options for 1.25- to 2-inch hitches, providing side-to-side control. Different anti-rattle solutions are designed to match specific receiver sizes to ensure optimal performance. When measuring your receiver to select the correct anti-rattle solution, use a tape measure to precisely gauge the inside width dimensions of the square opening on your hitch receiver. Your vehicle’s overall towing capacity should also influence which anti-rattle solution you select to maintain safe operation. Choose based on your receiver size and frequency of accessory changes.
Anti-Rattle Pins: Spring-Loaded vs. Threaded
If you’re looking for a more targeted approach to eliminating hitch rattle, anti-rattle pins offer a solid alternative to clamp-style devices. Spring-loaded pins excel in ease of installation, requiring no tools on certain models while delivering automatic pressure adjustment. However, they perform best in standard towing conditions and may underperform during extreme hauling.
Threaded pins demand manual twisting for precise compression but allow incremental tightening for custom fit. They effectively stop side-to-side movement yet struggle with forward-backward and vertical play during heavy use. The threaded mechanism applies pressure within the receiver, forcing the shank to stay in place against the receiver wall.
Both options target inside receiver contact to reduce multiple directions of play and prevent noise. Their primary performance limits emerge in extreme towing scenarios requiring zero play, where clamp styles prove superior. For enhanced security and corrosion resistance, locking hitch pins with advanced key systems provide an additional layer of protection beyond standard anti-rattle solutions. When selecting anti-rattle pins, consider stainless steel construction for superior durability in diverse weather conditions. Pin wear on hitch holes remains a concern with prolonged heavy towing regardless of type. For maximum durability and corrosion resistance, consider zinc-plated or stainless steel materials when selecting anti-rattle pins.
Hitch Tightener Clamps for Permanent Grip
Solid forged steel clamps represent the most direct solution for eliminating hitch movement. You’ll slide the tightener clamp over your ball mount and position the stabilizer plate underneath your receiver tube. Tightening the 3/4″ nuts creates increased clamping force that locks everything firmly in place—typically within minutes using standard tools.
The heavy-duty construction delivers corrosion resistance through protective anti-rust coatings, ensuring long-term durability. You’ll benefit from reduced rattling, whining, and clunking noises while your hitch pins experience less stress from slamming motions. American-owned manufacturers like Rhino USA have engineered these stabilizers with solid forged steel to withstand demanding towing conditions. Proper pin diameter and length specifications vary by hitch class to ensure maximum holding capacity.
These clamps fit standard 1.25″ and 2″ Class I, II, III, and IV hitches without modification. Safety features like cotter pins maintain grip even if threads strip. Regular bolt verification keeps your connection secure during extended towing operations. Proper hitch compatibility with your specific vehicle class ensures optimal performance across different towing applications.
DIY Shims to Stop Hitch Rattle
While hitch tightener clamps offer a permanent solution, you don’t always need heavy-duty equipment to eliminate receiver rattle. DIY shims provide customizable shim designs that fill gaps between your ball mount and receiver effectively.
You can create shims from license plate metal, folding strips at 45-degree angles for ideal wedging. Alternatively, wrap your ball mount shank with electrical tape layers to increase diameter and reduce play. The shim installation process remains straightforward: position shims at the bottom, sides, or angles depending on your rattle direction. After inserting the shim, drill a 5/8″ hole through both the shim and receiver hitch to align it properly and prevent sliding.
Modified folding shims with cut corners prevent sliding through the receiver while allowing smooth hitch passage. These cost-free solutions using scrap aluminum deliver longevity and reliable performance without permanent alterations to your equipment. Most standard hitch locks fail easily due to cheaply made construction, making proper shim installation a more dependable approach than relying on lock security alone. If you do use a trailer hitch lock, be aware that BOLT locks cannot be rekeyed once programmed to your vehicle. To maintain your shims and prevent corrosion, apply rust prevention paint after installation to protect the metal surfaces from oxidation.
Tool-Free Stabilizer Clamps for Quick Fixes
Tool-free stabilizer clamps offer a faster alternative when you’re looking for immediate noise reduction without the customization of DIY shims. You’ll slide the U-clamp over your ball mount, secure it with two bolts, and eliminate rattling in minutes—no specialized tools required.
The build quality comparisons reveal significant performance differences between stabilizer clamps and temporary fixes. Heavy-duty forged steel construction maintains clamping pressure indefinitely, while the U-clamp design squeezes your hitch accessory firmly against the receiver wall. This prevents vertical movement and substantially reduces the slack and vibration that cause unwanted noise during towing. With a lifetime warranty against defects, you can trust this investment will protect your towing setup for years to come.
You’ll notice the stabilization effect works across Class I through IV hitches in 1.25″ and 2″ sizes. Stainless steel construction protects against corrosion, ensuring long-term durability whether you’re installing on trucks, SUVs, or trailers. These friction-based stabilizer systems are engineered to reduce sway and improve towing stability across various vehicle types and hitch configurations.
Installing and Maintaining Your Anti-Rattle Solution
You’ve got three primary installation methods to choose from, each designed to secure your hitch accessory and eliminate movement. Whether you’re using U-bolt clamps, BulletProof anti-rattle clamps, or etrailer anti-rattle collars, the core principle remains consistent: installing receiver shank properly guarantees stability.
Start by sliding your chosen clamp over the male portion of the shank and positioning it against the receiver. Hand-tighten initially, then use a wrench to achieve final tightness without over-torquing. For U-bolt systems, work the 3/4-inch nuts evenly; for bolt-type clamps, tighten 3-4 turns before securing jam nuts. These mechanisms also provide theft protection by introducing substantial friction that makes removal difficult without specialized tools. Different clamp types are engineered with varying materials and weight capacities to match your specific attachment needs.
After installation, checking tightness regularly prevents wobble from returning. Inspect before each use and retighten after your first 50 miles of towing. For additional security, consider using key-operated caps or padlocks on top of your anti-rattle system for enhanced protection. Verify zero movement by shaking the assembled hitch—any play indicates you need additional adjustment. Always consult the manufacturer’s specifications to ensure your bolts are tightened to the correct torque specifications for your specific hitch model.