You’ll need to match your trailer ball diameter precisely to your coupler size—standard options include 1-7/8″, 2″, and 2-5/16″ balls with capacity ratings from 2,000 to over 10,000 lbs. Inspect your receiver tube, ball mount, and hitch pins regularly for rust, pitting, and excessive play. Replace worn components before they compromise safety. Verify pin sizes: use 1/2″ for Class 1-2 hitches and 5/8″ for heavier classes. Proper lubrication and maintenance extend hitch life greatly. The following sections detail each critical component and replacement procedure.
Hitch Anatomy: Receiver, Ball Mount, and Coupler
To understand how a trailer hitch system works, you’ll need to grasp three essential components: the receiver, ball mount, and coupler. The receiver is a square tube that attaches to your vehicle’s frame and accepts the ball mount. You’ll find receiver tube considerations critical—they’re classified by size and weight capacity, ranging from Class 1’s 1-1/4 inch tube to Class 5’s 2 to 3 inch tube. When measuring your receiver, use a tape measure to precisely gauge the inside width dimensions of the square opening to avoid common errors like visual estimates. The ball mount inserts into this receiver and adjusts vertically using drop or rise measurements. Receiver hitches are secured with a hitch pin to ensure the ball mount stays firmly in place during towing. Finally, your trailer’s coupler locks onto the hitch ball, securing the connection. For proper installation techniques, you must match your ball mount’s shank size to your receiver class and guarantee the coupler size aligns with your ball diameter for safe, reliable towing. Ball hitch sizes including 1-7/8″, 2″, and 2-5/16″ are matched to specific trailer types and weight requirements to ensure compatibility with your towing application. Different types of hitch receivers, including custom hitch, rear mount hitch, front hitch, multi-fit hitch, and bumper hitch options, allow you to select the best configuration for your vehicle’s mounting requirements.
Hitch Pins and Clips: Identifying and Replacing Critical Fasteners
Once you’ve secured your ball mount into the receiver, you’ll need to lock everything in place with hitch pins and clips—the fasteners that prevent your trailer from disconnecting during towing. You’ll choose between 1/2″ pins for Class 1 and 2 hitches or 5/8″ pins for heavier classes, ensuring the diameter matches your receiver hole precisely. Diverse pin materials—including chrome-plated steel, stainless steel, and hardened steel—offer varying durability levels. After sliding the pin through, secure it with a clip or cotter pin. Spring-loaded locking mechanisms provide positive retention for enhanced security during transport. For demanding conditions like heavy towing, tethered clips such as lynch pins prevent loss or accidental release better than hairpins. Snapper pins with spring-loaded wire loops make installation easier when working in tight spaces around your hitch assembly. Always pair your hitch pins with safety chains as an additional backup to prevent trailer separation and comply with towing regulations. Regular lubrication requirements keep pins functioning smoothly and prevent corrosion. Inspect pins periodically for wear, bending, or rust, replacing them immediately if compromised to maintain towing safety and structural integrity.
Pick the Right Trailer Ball for Your Coupler
Selecting the correct trailer ball hinges on matching its diameter precisely to your coupler’s size—a critical step you can’t skip if you’re serious about safe towing. You’ll find standard sizes in 1-7/8″, 2″, and 2-5/16″ diameters. Check your coupler’s engraved marking and measure your ball to confirm an exact fit.
Ball diameter mismatch risks introduce slop and looseness, potentially causing disconnection during transport. You have to also verify matching ball capacity ratings exceed your trailer’s Gross Trailer Weight and tongue weight. Consult your trailer’s weight tag for precise specifications. Oversizing a ball on an undersized coupler creates a weak link that compromises the entire towing system, leading to dangerous issues like swaying or bouncing while driving. Different ball sizes handle varying loads, from 2,000 pounds for 1-7/8-inch balls to over 10,000 pounds for 2-5/16-inch balls.
Brand variations like Ram and Bulldog affect security despite identical markings. Don’t assume compatibility—manufacturer specs validate proper pairing between your hitch receiver, ball, and coupler. An adjustable ball mount allows leveling of the trailer and adjustment of ball height for varying trailer loads, providing additional flexibility beyond standard fixed hitches. This verification prevents costly failures and guarantees safe operation.
Diagnose Worn Hitch Parts Before They Fail
Before your hitch components fail catastrophically during towing, you’ll need to identify the warning signs of wear through systematic inspection and observation. Check for visual indicators like grooves, flattening, rust, and pitting on ball surfaces—these demand immediate replacement. Examine the receiver and ball mount for excessive play or movement when hitched.
Listen for rattling, clunking, or grinding noises while towing, which signal worn components. Test coupling issues by attempting to latch and unlatch your coupler; binding, difficulty engaging, or refusal to drop onto the ball indicates internal corrosion or damage. Metal-to-metal contact from regular coupling and uncoupling accelerates this deterioration over time. Using white lithium grease or other appropriate lubricants on your hitch ball reduces friction and prevents premature wear of these critical components. For temporary securing applications, some users employ quick-release knots to hold equipment in place during transport.
Inspect locking mechanisms for rust buildup affecting their function. Before rust becomes severe, apply penetrating oil or rust remover spray to corroded areas and allow adequate dwell time before scrubbing to restore functionality. Monitor trailer sway and bouncing at highway speeds. Address any hitch height misalignment affecting stability. Regular systematic checks prevent dangerous failures and costly damage.
Adjustable Shanks and Ball Mounts for a Custom Fit
Your hitch system’s effectiveness depends entirely on selecting the right shank and ball mount combination for your specific towing needs. You’ll find adjustable rise and drop options ranging from 4″ to 10″ for 2″ and 2.5″ shanks, with 3″ heavy-duty models offering 6″ to 10″ configurations. Dual-ball reversible designs accommodate different trailer coupler sizes—2″ balls handle 14,000 lbs while 2-5/16″ balls support 25,000 lbs gross towing weight.
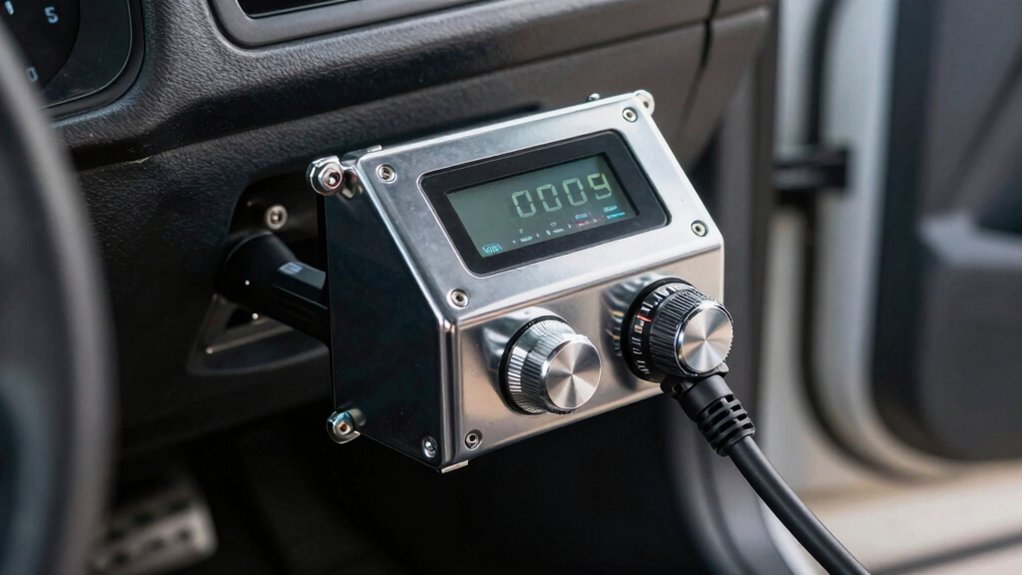
Shank locking mechanisms employ removable pin technology with 9 to 11 precision-drilled holes, enabling quick height adjustments without tools. Slider lock dual-pin designs provide enhanced adjustability for varying trailers. Premium-grade steel construction with anti-rattle pads guarantees secure connections and reduces noise during transport. Proper load distribution between your towing vehicle and trailer is essential for reducing sway and improving overall handling during transit. The built-in tongue weight scale ensures you maintain safe load distribution for balanced towing performance. Models like the Weich Safe Drop Hitch feature glycerin-filled tongue weight gauges for precise load monitoring. You’ll achieve precise height matching across your vehicle modifications with flippable shank construction that maximizes versatility.
Air Spring Bags and Suspension Parts for Shocker Hitches
While adjustable shanks and ball mounts establish the proper height and connection point for your trailer, the suspension components beneath your hitch determine how smoothly that connection performs under load. Shocker Hitch air spring bags absorb bumps, tugs, and jerks during towing, improving ride quality and protecting your trailer’s bolts and rivets.
You’ll find compatible bags for gooseneck surge air hitches, receiver hitches, equalizer systems, and 5th wheel setups. For air bag maintenance, replace units every 100,000 miles or 10 years—outdoor exposure reduces this to 5-7 years. Air suspension durability depends on routine inspection and timely component replacement. Replacement air spring bags come with valve stems, ensuring a complete and ready-to-install solution for your hitch system. A weight distribution hitch uses spring bars and tension to redistribute tongue weight evenly across both vehicles’ axles, which is why proper suspension maintenance is critical for sustained performance.
Replacement airline kits include brass fittings, fill valves, and caps. These premium heavy-duty assemblies weigh 3.0 lbs and measure 7″ W x 5″ H x 10″ L, delivering reliable performance across demanding towing applications. Remember that weight distribution hitches improve safety and stability rather than increasing your vehicle’s actual towing capacity, so always verify your vehicle manufacturer’s maximum towing capacity before selecting replacement parts. When selecting replacement parts, consider the towing capacity of your vehicle to ensure compatibility with your specific hitch model and setup requirements.
Source Complete Hitch Hardware Kits and Fasteners
Every trailer hitch requires specific fasteners matched to its towing capacity and vehicle application, which is why sourcing the correct hardware kit proves essential for safe installation and operation. You’ll find complete kits from etrailer replace damaged or lost hardware for Curt, Draw-Tite, Hidden Hitch, and Reese hitches. You can order by hitch item number and manufacturer dropdown, ensuring correct bolt grades and strengths for maximum capacity.
You’ll also need block plate kits like Rigid Hitch’s BPK variants, priced at $15.99, which provide six blocks per kit. For assembly work, you’ll want fishwires and bushings—10-pack fishwires in 3/8″, 1/2″, or 7/16″ sizes cost $9.99 each, while reducer bushings run $11.18. CURT manufactures over 1,000 different custom trailer hitch designs to provide vehicle-specific solutions for various towing applications. Proper hitch installation requires matching parts to your hitch class and receiver size to ensure optimal performance. Different applications like fifth-wheel and gooseneck hitches require distinct hardware configurations beyond standard receiver hitch components. Local hardware stores often lack these specialized components, making dedicated replacement kits your best option. If you purchase a hitch that doesn’t meet your needs, most new items can be returned within 30 days for full refund, allowing you to exchange for the correct replacement parts.
Four Maintenance Tasks That Stop Wear in Its Tracks
Four essential maintenance tasks‘ll preserve your trailer hitch’s structural integrity and extend its operational lifespan.
Start with regular cleaning using a garden hose, bronze brush, and steel wool to eliminate dirt, dust, and surface rust that accumulates on joints and pin holes. Routine lubrication maintenance follows, where you’ll apply waterproof grease to the hitch ball, receiver tube, and moving parts seasonally, especially after winter.
Periodic corrosion inspection of anti-corrosion coatings reveals wear or peeling requiring immediate reapplication of rust-preventive paint. Before winter, apply protective coatings to counter salt and moisture damage. Storing your hitch in a dry, ventilated area during off-season periods prevents exposure to humidity and rust when the equipment is not in use.
Finally, conduct visual inspections before every use and monthly during heavy towing. Check for cracks, loose hardware, safety chains, and wiring connections. Monitor connection points for abnormal stress wear and exposed metal that signals replacement needs.
Install Replacement Parts Step by Step
Before you begin the installation, you’ll need to prepare your work environment and gather the necessary tools to guarantee a smooth, safe replacement process. Position your vehicle on a level surface, chock the wheels, and gather a torque wrench, sockets, drill bits, and safety glasses. Read manufacturer instructions thoroughly before starting work.
Align the hitch receiver with pre-existing frame mounting holes, cleaning rust and marking drilling locations as needed. Slide the hitch into position, using a second person for support. Insert bolts with washers through mounting holes, hand-tightening center bolts first. Optional tools like an impact wrench and thread locker can help expedite the fastening process.
Use your torque wrench to tighten fasteners to manufacturer specifications, avoiding over-tightening. Reinstall removed components, then properly fit hitch parts like the ball and drawbar. Complete safety inspection checklists, verifying all connections are secure before conducting post-installation towing safety checks.