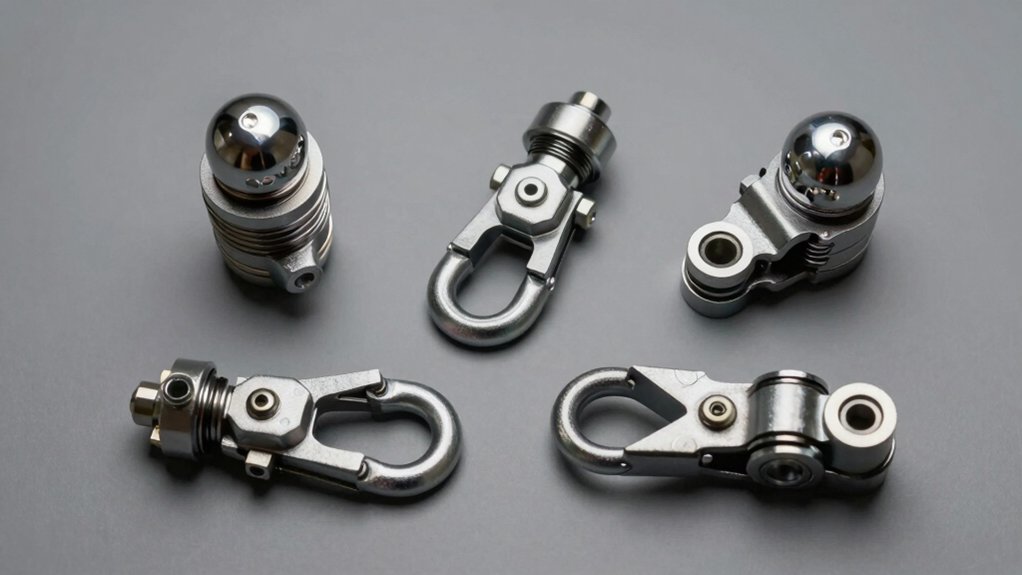
You’ll insert the hitch pin fully through your receiver and ball mount from the driver’s side, then push the straight leg of the clip into the pin hole and slide it onto the opposing side. Verify there’s no gap and check the spring tension for a secure lock. Cross-attach safety chains as backup security. Before each tow, inspect pins for wear and corrosion, apply dry-lube to prevent deterioration, and verify torque on fasteners every 500 miles. Comprehending each maintenance step guarantees you’re maximizing your system’s reliability.
Why Hitch Pin Clips Matter
Safety is the foundation of reliable towing, and hitch pin clips are critical to achieving it. You’ll find that these components prevent trailer detachment during acceleration, braking, and turning by securing the pin firmly in place. Without them, you’re risking accidents and injuries from unexpected unhitching.
Beyond safety, hitch pin clips address security concerns directly. Locking variants deter theft and unauthorized use of your trailer, which matters greatly when you’re relying on secure storage options. You’ll gain peace of mind knowing your setup resists tampering at rest stops or storage facilities. Properly aligned hitch pins with friction-based fit absorb vibration, creating a smoother ride and protecting your gear from damage during transport. When selecting equipment for your towing system, considering material quality and durability ensures your hitch pins withstand repeated use and harsh conditions. Materials such as zinc-plated or stainless steel provide superior corrosion resistance for long-term reliability.
Mechanically, clips eliminate side-to-side movement that causes rattling and premature wear. For demanding conditions like farming or heavy towing, tethered clips such as lynch pins prevent loss or accidental release more effectively than hairpin designs. They maintain ball mount stability under real-world towing stresses, mitigating theft concerns while ensuring your trailer connection remains reliable throughout your journey.
Choose the Right Pin Size for Your Hitch Class
Selecting compatible pin size directly impacts your towing safety and capacity. Classes 1 and 2 require 1/2-inch diameter pins, while Classes 3, 4, and 5 demand 5/8-inch pins. Your receiver opening dimensions must also align—Classes 1 and 2 use 1-1/4″ x 1-1/4″ receivers, whereas Classes 3, 4, and 5 feature 2″ x 2″ openings, with Class 5 offering additional sizes up to 3 inches. The standard usable length of hitch pins is typically 3-4 inches for most towing applications. For enhanced security in demanding towing scenarios, consider locking hitch pins that provide additional protection against accidental disengagement. Quality locking pins feature double ball-bearing mechanisms and stainless steel construction for durability. Matching hitch class standards confirms your pin securely seats in the receiver without wobbling. Proper pin selection ensures compatibility with your vehicle’s maximum weight capacity across different towing applications. Verify both diameter and length specifications before installation. Using undersized pins compromises security and voids warranty protection.
How to Install a Hitch Pin Clip Safely
Once you’ve confirmed your pin specifications match your hitch class, you’re ready to install the clip properly. Start by inserting the pin from the driver’s side, sliding it fully through both receiver and ball mount holes until it seats at the 12 and 6 o’clock position. Push the clip’s straight leg into the pin hole, then slide it onto the opposing side until it clicks snugly into the groove. Verify the clip touches the pin at its lowest point with no gaps remaining. Perform precise alignment checks by tugging gently on the assembly to confirm a secure lock, then check spring tension for adequate resistance. Ensure your hitch receiver size matches your vehicle’s towing capacity and hitch class requirements before finalizing installation. To maintain safety during towing, always cross-attach safety chains underneath the ball hitch as a backup security measure. For added protection, consider installing additional security measures like wheel locks or chocks to prevent unauthorized trailer movement. Establish proper storage techniques by keeping extra clips accessible and examining clip security after each usage for ideal safety. Regular inspections are important due to vibrations during driving that can loosen connections over time.
Troubleshoot Common Installation Problems
Why does your hitch pin clip fail to secure properly after installation? Misalignment and pin incompatibility often cause problems. Check that your receiver and pin holes align perfectly before insertion—debris or damage can obstruct full retraction.
Verify pin compatibility with your vehicle. Standard pins won’t work for Toyota Tacoma, Land Cruiser, or 4Runner models; you’ll need extended pins exceeding 4.5 inches to clear the hinge flange. Longer pins like the #e98881 provide adequate usable span for proper clip attachment.
Ensure proper torque requirements aren’t over-tightened, which bends pins and prevents full retraction. Test multiple times before towing. If your clip won’t stay secured after initial attachment, you’ve likely selected an undersized pin. Replace it immediately with the correct length for your vehicle. Understanding hitch pin specifications helps you identify the right diameter and length for your specific towing application. Selecting the appropriate pin diameter and length specifications for your tractor model ensures compatibility and prevents installation failures. Regular hitch inspections can identify bent or damaged pins before they cause towing complications. Quality hitch pins constructed from durable materials will withstand heavy use and prevent costly equipment damage during towing operations.
Inspect and Maintain Your Hitch Pin System
Because your hitch pin system bears the weight and stress of towing, regular inspection and maintenance are essential for safe operation. You’ll want to establish a maintenance schedule that includes visual examinations before each use and monthly inspections during heavy use periods.
Monitor your hitch pin holes for wear, replacing pins when holes approach the metal’s edge. Check all hardware, safety chains, and wiring connections for proper function. Verify torque on fasteners every 500 miles using manufacturer specifications.
Keep pins and receivers clean and free from dirt and debris. Apply dry-lube to pins rather than wet grease, which attracts contaminants. Regular cleaning prevents dirty lubricant from acting like sandpaper on metal surfaces, causing premature wear to your hitch components. For stubborn rust buildup, consider using penetrating oil or rust remover spray to maintain pin functionality and prevent corrosion. For specific hitch types like McHitch or Cruisemaster D035, consult manufacturer guidelines on lubrication products and methods. After cleaning with mild soap and water, dry thoroughly to prevent moisture from trapping within the unit. Replace any perished or absent O-rings promptly.