Your trailer coupler clamps firmly over your tow vehicle’s hitch ball, creating a weight-bearing connection that prevents separation during towing. It distributes forces evenly across your trailer frame and reduces the distance between vehicles for better maneuverability. Proper ball size matching is essential to avoid failures. A lockable latch mechanism provides added security, while regular inspection and greasing keep everything functioning smoothly. Comprehending coupler types, weight ratings, and installation techniques guarantees you’ll tow safely.
What Trailer Couplers Do and Why They Matter
When you’re towing, the trailer coupler‘s job is straightforward: it clamps securely over your tow vehicle’s hitch ball to create a weight-bearing connection that prevents separation during turns, stops, and highway speeds. This fundamental component distributes towing forces evenly across your trailer frame while reducing the distance between vehicles for improved maneuverability.
Understanding trailer coupler failure causes—such as undersized ratings, worn locking mechanisms, or improper installation—helps you avert dangerous disconnections. Regular inspection catches these issues before they jeopardize safety. Ball size mismatch is the primary reason hitch failures occur, making coupler verification essential before any towing venture. The three standard ball hitch sizes accommodate different towing capacities and trailer types, so matching your coupler to the correct ball size is critical for safe operation. Before installation, ensure the new coupler matches your trailer’s weight capacity and hitch type for optimal performance.
For longevity, implement trailer coupler corrosion prevention by cleaning and lubricating connections after exposure to salt, moisture, or harsh conditions. Different coupler styles like A-frame and straight-tongue designs serve specific towing needs and weight capacities. A properly maintained coupler guarantees reliable performance under frequent towing demands, protecting your investment and keeping you safe on every journey.
How Your Trailer Coupler’s Latching Mechanism Works
Your trailer coupler’s latching mechanism is the critical component that transforms a loose connection into a secure, weight-bearing bond. When you lower your trailer onto the hitch ball, self-latching mechanisms engage automatically, eliminating manual intervention. The latch clicks into place once fully seated, securing the coupler firmly.
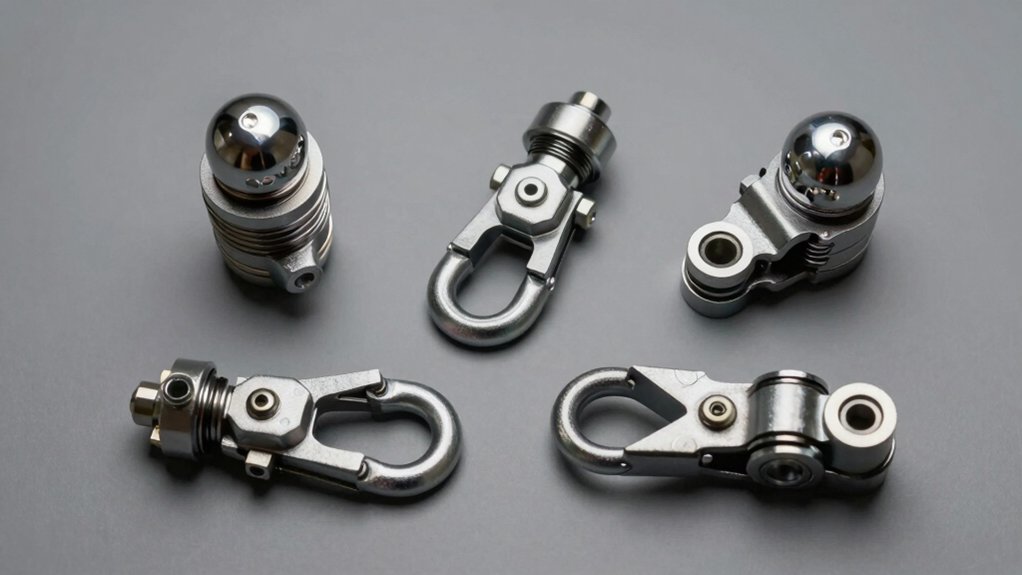
Different latch types serve varying needs. Sleeve-lock designs use sliding collar enclosures that grip the ball with substantial force, making them ideal for heavy-duty applications. Hand-wheel latches employ manual knob tightening for lighter trailers. Latch-pin systems block the mechanism with steel pins for additional security. Regular inspection of these locking components ensures your coupler maintains its durability and reliability over time.
You’ll confirm proper engagement when the hitch pin slides through the side hole without resistance—this indicates your coupler’s locked position. Most applications require matching pin diameters to your specific hitch class to ensure compatibility and safety. Never force the pin; if it doesn’t fit smoothly, your latch isn’t fully closed. Proper installation requires sliding the lever latch and spring components onto the spade bolt in the correct sequence to ensure optimal performance. After installation, lubricating moving parts with appropriate grease will keep your latching mechanism functioning smoothly for years to come.
Pick the Right Coupler Type for Your Trailer
Since trailer couplers come in several distinct types, selecting the right one requires matching your specific towing needs with the coupler’s design and capacity. You’ll want to verify that your coupler weight capacity exceeds your trailer’s gross weight and tongue weight specifications. Straight-tongue couplers suit lighter loads and standard applications, while A-frame options handle moderate weights better. For heavy-duty hauling, gooseneck and pintle couplers deliver capacities up to 30K. You should also evaluate coupler material options—high-quality steel and aluminum resist rust and corrosion effectively. A lockable latch mechanism provides added security and peace of mind during transport. Additionally, confirm your ball size matches your hitch precisely, as common sizes include 1 7/8 inches, 2 inches, and 2 5/16 inches. Understanding hitch class ratings helps ensure compatibility between your vehicle and trailer setup. Selecting the appropriate coupler size for your specific towing application is critical for maintaining safe and reliable trailer operation. Align your coupler selection with your trailer type and intended use.
Match Your Coupler to Your Towing Capacity
To guarantee safe and effective towing, you’ll need to match your coupler’s capacity with your vehicle’s towing limits and your trailer’s weight specifications. Start by calculating your vehicle’s actual towing capacity—subtract your vehicle’s curb weight and payload from its GCWR. Next, determine your trailer’s gross weight, including cargo. Your coupler weight ratings must meet or exceed both figures. For example, if your vehicle safely tows 7,500 lbs and your trailer weighs 6,500 lbs, you’ll need at least a Class III coupler. Don’t select a coupler based solely on the hitch class; verify that its specific weight rating accommodates your trailer weight capacity. The hitch ball you pair with your coupler must also match the coupler’s design to ensure smooth pivoting and safe coupling during towing. Ensure your vehicle compatibility with the selected coupler model before installation to avoid safety issues. Regular inspection of your coupler for wear or issues will help prevent dangerous failures during towing. Mismatching creates dangerous instability and risks coupler failure during towing.
Install Your Trailer Coupler Correctly the First Time
Once you’ve selected the right coupler for your vehicle and trailer specifications, proper installation techniques become the next critical step in ensuring safe towing. Start by positioning your trailer on stable, level ground and supporting the tongue with a jack to elevate the coupler area.
Remove the old coupler by unbolting or grinding off welds, then clean the mounting surface thoroughly. For correct coupler alignment, match the bolt pattern precisely and insert grade-8 bolts through aligned holes. Tighten bolts evenly to manufacturer specifications, ensuring the connection remains secure.
If you’re using a weld-on coupler, grind paint to expose raw metal and weld the full length on both sides. Add gussets along U-channel sides for additional support. Consider that weight capacity specifications vary by coupler type and manufacturer, so always verify your coupler matches your trailer’s requirements before finalizing installation. Finally, apply grease to all components and test the connection by lowering the coupler onto the hitch ball, engaging the latch, and verifying the hold. To ensure safety during towing, cross-attach safety chains underneath the ball hitch as a backup security measure, positioning them in an X-pattern configuration to cradle the tongue in case of coupler failure. Regular greasing and inspection of couplers ensures long-lasting performance and safe towing throughout the life of your equipment.
Pre-Tow Safety Inspection Checklist
Before you hook up your trailer and hit the road, you’ll need to perform a thorough pre-tow safety inspection that verifies every critical system functions properly. Establish routine inspection intervals—ideally before each trip—to identify signs of wear and tear early. Standardized inspection checklists help eliminate hidden costs of paper forms while providing real-time data capture and visibility.
Check your coupler connection first, guaranteeing it’s fully seated on the hitch ball with the latch locked. Affirm all lighting systems function correctly, including brake lights and turn signals. Test tire pressure against manufacturer specifications and examine sidewalls for cracks. Always use safety chains as a backup connection to your towing vehicle to prevent detachment during towing. Ensure your safety chains are rated to match or exceed your trailer’s gross vehicle weight rating. When selecting safety chains, prioritize material strength ratings to guarantee adequate protection under load conditions.
Inspect your brake system thoroughly, including service brakes and the breakaway device. Finally, examine your frame for structural damage and verify wheel lug nuts are tightened to specifications. This all-encompassing approach prevents failures and ensures safe towing.
Avoid These 5 Critical Installation Mistakes
Because improper coupler installation can lead to trailer detachment, brake failure, and costly fines, you’ll want to sidestep the five most common mistakes that compromise safety and performance. First, skip surface preparation and you’ll face bonding failures. Second, mismatching coupler weight ratings to your trailer invites disaster. Third, ignoring alignment and leveling creates dangerous sway conditions. Fourth, using incorrect bolts or improper torque causes loosening during operation. Fifth, neglecting latch and fit checks leaves your connection unsecured.
You’ll guarantee success by thoroughly cleaning mounting surfaces, verifying all components match your trailer’s weight capacity, checking coupler fit precisely, and optimizing weight distribution. Level your trailer completely, apply manufacturer-specified torque with grade-8 bolts, and test latch security before towing. Before your first tow, verify that safety chains are properly crossed and attached underneath the coupler to provide additional protection against accidental disconnection. After coupling is complete, be sure to raise the trailer jack completely and lock it in place to prevent dragging during transit. Perform regular maintenance checks on the latch mechanism to ensure continued safe operation during your hauling operations. Additionally, consider installing a coupler lock as an extra security layer to prevent unauthorized hitching and theft while your trailer is parked. These practices eliminate installation errors and keep your trailer safely connected.
Keep Your Coupler Maintained for Years of Safe Towing
While proper installation establishes a safe connection, you’ll only maintain that security through consistent maintenance and inspection. Develop a coupler lubrication schedule by applying chassis grease to the ball socket before each tow, then coating the ball with a protective grease layer afterward. For coupler corrosion detection, regularly examine your hitch system for rust, cracks, or damage, paying special attention to pivot points and welds. Clean the coupler and ball with shop solvent to remove dirt buildup that acts like sandpaper. Lubrication repels water, dirt, and dust that would otherwise accelerate corrosion and wear on your connection. Options like white lithium grease provide superior water and dirt repulsion compared to standard bearing grease. Test the latching mechanism for smooth operation without jamming. Check safety chains for integrity and verify proper ball-to-coupler fit. Store your coupler off the ground to prevent dirt accumulation. These straightforward practices guarantee reliable towing performance for years.
When and How to Replace Your Trailer Coupler
Even with diligent maintenance and inspection, you’ll eventually encounter a coupler that’s reached the end of its service life. Coupler replacement timing depends on visible damage severity. You’ll need replacement if you notice cracks, bent bodies, worn latches, or rust compromising structural integrity.
Before attempting replacement, park your trailer on level ground with wheel chocks and jack stands securing the tongue. Disconnect from your towing vehicle completely. A wobbly connection that shakes or rattles during towing is a critical warning sign requiring immediate replacement.
For coupler repair considerations, assess whether damage warrants replacement versus minor adjustment. Bolted couplers require socket wrenches for removal; welded styles demand careful torch or grinder work. After removal, scrub the mounting area thoroughly with a wire brush.
Select your new coupler matching your trailer’s weight capacity and hitch ball size. Secure it with grade-8 bolts using proper torque specifications.