You’ll replace your trailer coupler latch in under two hours with basic hand tools. Start by safely removing the old coupler after chocking wheels and disconnecting chains. Clean and inspect your trailer tongue thoroughly, then install your new coupler with grade-8 bolts torqued to specification. Assemble latch components in proper order: spade bolt, coil spring, ball clamp, tension spring, and nyloc nut. Verify alignment and perform a final safety check before towing. Understanding common latch problems will help you troubleshoot future issues.
Tools and Materials You’ll Need Before Starting
Before you begin replacing your trailer coupler latch, you’ll need to gather the proper tools and materials to guarantee a safe, efficient job. Start with essential hand tools: multiple wrench sizes, WD-40 for loosening corroded bolts, a ball peen hammer, and a sharp chisel for separation procedures. You’ll also need power tools like an angle grinder with cutting and flap discs to remove the old coupler and prepare your mounting surface preparation. For fastening, stock Grade-8 bolts matching existing hole sizes, flat washers, and lock nuts. Include cleaning supplies such as wire brushes, solvents, and degreasers. When selecting fasteners, consider zinc-plated or stainless steel materials to ensure long-term corrosion resistance and durability. Finally, gather safety equipment: eye protection, gloves, a jack for support, and a torque wrench for proper bolt tensioning to avoid shifting during installation. A torque wrench ensures even tightening across all fastening points for maximum safety and durability. For reference, manufacturer’s torque specifications typically vary based on bolt size, similar to hitch ball installation requirements. Always pair your replacement coupler with safety chains to provide additional security during towing operations.
How to Safely Remove Your Old Coupler
Since your trailer’s safety depends on proper disconnection procedures, you’ll want to start by chocking the trailer wheels and ensuring both the tow vehicle and trailer rest on level ground. Next, disconnect safety chains and wiring before attempting coupler removal.
Release all locking mechanisms and safety pins, then use a jack to lift the trailer tongue until the coupler clears the hitch ball. If the coupler’s stuck, drive the tow vehicle back and forth slowly to loosen tension. Apply lubricant or tap with a rubber mallet if needed. For stubborn locks, penetrating oil can help break rust and corrosion that may be preventing smooth operation. For added security during disconnection, you may insert a coupler lock through the latch hole to prevent accidental reengagement. Popular options like the MasterLock Universal 389-DAT offer rust and corrosion resistance for reliable long-term performance.
Once free, disassemble ball mount bolts using appropriate wrenches. Check for rust on all fasteners and replace any damaged components. Ensuring the coupler matches your trailer’s tongue design is critical for maintaining the secure yet flexible attachment your towing system requires. For welded couplers, use an angle grinder with a cutoff wheel, then knock off the coupler with a heavy hammer.
Clean and Inspect Your Trailer Tongue
Now that you’ve successfully removed the old coupler, you’ll want to clean and inspect the trailer tongue before installing the new latch. Start by removing dirt and debris with a stiff bristle brush, then apply degreaser to corroded areas and scrub thoroughly. Wipe the coupler interior clean with a rag to eliminate all grime.
Next, perform a detailed lubrication inspection of mounting bolts, guaranteeing they’re tight and the jack sits perpendicular to the ground. Check for rust buildup on the jack leg and examine the coupler socket for contaminants and wear patterns. For stubborn rust deposits, consider applying penetrating oil or rust remover spray and allowing dwell time before scrubbing. Assess all seals and gaskets for damage. Regular inspection of your coupler and hitch components should be performed as part of your 6-month maintenance schedule to catch any developing issues early.
Include this cleaning and inspection routine in your seasonal maintenance schedule to prevent corrosion and verify proper coupling performance. The metal-on-metal contact between the hitch ball and coupler experiences constant stress, making white lithium grease an excellent choice for protecting against wear and corrosion. Apply marine-rated grease to jack components and the hitch ball after cleaning. After installation is complete, test the latch and fit on the hitch ball to ensure everything is functioning properly before towing.
Install and Align Your New Coupler
With your trailer tongue cleaned and inspected, you’re ready to position and secure the new coupler. Align the bolt holes precisely with your tongue’s existing holes, then lower the coupler using your trailer jack until it rests evenly on the surface. Guarantee it sits level without tilting.
Insert grade-8 bolts through aligned holes from top to bottom, then attach matching nuts and tighten evenly. Torque bolts to manufacturer specifications for a secure hold. Before finalizing, check hitch ball wear and inspect coupler alignment carefully. The coupler must sit at the correct height for ideal hitch ball engagement. Double-check alignment after initial tightening to prevent misalignment issues that could compromise your towing safety. Ensure your ball hitch size matches your trailer’s weight requirements for safe operation, as improper sizing can cause dangerous issues like swaying, bouncing, or detachment. Select the correct hitch ball diameter based on your specific trailer’s coupler and towing needs to ensure compatibility and safety. Rub hitch ball socket with grease to ensure smooth connection and prevent corrosion between the ball and coupler surfaces.
Assemble the Latch Components in the Correct Order
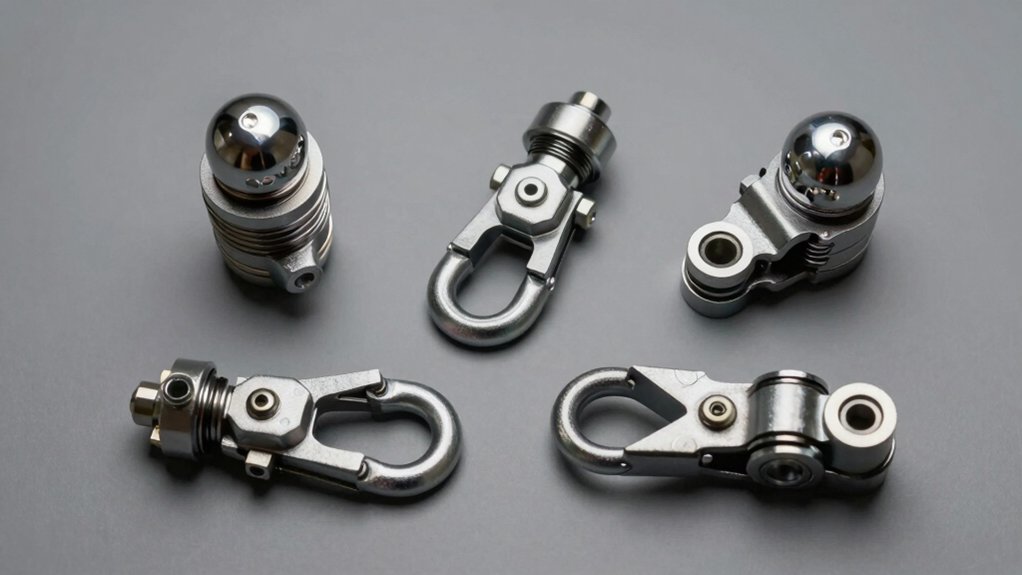
How you assemble your latch components directly affects your coupler’s reliability and safety, so you’ll want to follow the proper sequence carefully. Start by inserting the spade bolt through the coupler hole with your lever latch in the open position. Next, slide the coil spring over the bolt with its larger opening facing upward. Then position your ball clamp with the cupped part toward the ball pocket, aligning its back lip over the coupler reinforcing bar. For spring force optimization, add the tension spring followed by the U-shaped washer. Finally, thread the nyloc nut onto the spade bolt and tighten to specification, backing off one-half to three-quarter turn for smooth leverage latch placement and operation. Matching your coupler components with the appropriate pin diameter ensures compatibility with your specific hitch class and towing requirements. Different latch variations like Posi-Lock and Easy-Lock options provide varying levels of coupling convenience depending on your towing needs. Proper maintenance like regular cleaning and lubrication of your latch components will help preserve their functionality over time. Before final assembly, inspect the worn spring components to ensure they haven’t lost their tension capacity or developed cracks that could compromise the coupler’s locking ability.
Adjust Your Latch for Smooth, Secure Operation
Once you’ve assembled your latch components, you’ll need to fine-tune the adjustment mechanism to guarantee proper tension and secure ball capture. Locate the adjustment nut beneath the coupler and loosen it completely as your baseline reference. Tighten incrementally in small clicks, testing the fit after each adjustment by pulling upward on the trailer tongue. You’re aiming for adjust slack removal while maintaining adjust proper clearance that allows the ball to pivot naturally without rattling. The hitch ball must remain secure yet move freely during towing maneuvers. Continue adjusting until the latch closes with moderate resistance—not excessive difficulty. Once satisfied, apply bearing grease to all moving parts, including the socket and spring mechanisms. Approximately 1/8 to 1/4 inch of play is typical and acceptable for proper coupler fit. For additional security during towing, ensure your safety chains are properly attached to both sides of the trailer tongue and crossed in an X-pattern beneath the coupler. After coupling is complete, verify that the breakaway cable is connected to the tow vehicle as a critical secondary safety measure before your final test lift.
Verify Your Coupler Accepts the Hitch Ball Properly
Before you attach your trailer, you’ll need to confirm that your coupler’s ball hole matches your hitch ball’s diameter exactly. To verify coupler hitch ball size compatibility, measure your coupler’s interior diameter using calipers or a ruler. Check for stamped or molded markings on the coupler housing that indicate the ball size. Standard sizes include 1-7/8 inch, 2 inch, 2-5/16 inch, and 3 inches.
Ensure coupler’s ball hole matches ball diameter precisely to prevent trailer bounce or detachment. An undersized ball allows dangerous movement, while an oversized ball creates coupling difficulty. Mismatches compromise your entire towing system’s safety. The receiver tube sizes available for most vehicles must also be verified to match your vehicle’s hitch receiver specifications. Different hitch classes have varying weight limits that directly affect your towing capacity and safety. Verify that your hitch receiver’s inside-to-inside dimensions are measured with a tape measure on level ground to ensure accurate compatibility. Ball mount weight capacity ratings should also be verified to ensure your hitch ball mount can safely support your trailer’s tongue weight. Take time to verify compatibility before hitching—this simple step prevents instability, swaying, and potential accidents during towing.
Grease and Lock Your Coupler Connection
Now that you’ve confirmed your coupler and hitch ball are compatible, you’ll need to properly lubricate and secure the connection to guarantee safe towing.
Apply high-pressure grease using a standard grease gun with approximately 10 pumps. Rotate your coupler several times to distribute the lubricant evenly. Smear chassis grease on the ball socket, then periodically oil pivot points and sliding surfaces with SAE 30 weight motor oil.
Next, position your coupler latch in the upward, opened position before lowering it onto the ball. Once engaged, secure the lock pin firmly. Test the connection by applying deliberate push force to confirm it’s secure.
Perform regular maintenance by inspecting for rust, corrosion, or damage. Keep the mechanism clean and protected against environmental damage using a protective cover. Re-lubricate if your coupler is submerged or exposed to prolonged inclement weather. This routine care prevents locking failures and extends component lifespan.
Run Your Final Safety Check Before Towing
You’re nearly ready to hit the road, but you’ll want to methodically corroborate every critical system before departing. Consider electrical system safety by connecting your trailer plug and testing all lights—brake lights, turn signals, running lights, and hazards. Walk around the trailer to affirm everything functions properly.
Next, inspect your tires for proper pressure and tread condition, then torque lug nuts to manufacturer specifications. Check your jack’s fully cranked and locked in the raised position. Verify safety chains are crossed underneath the hitch with appropriate slack for turns. Ensure the coupler is fully seated on the hitch ball and latched tight before departure.
Test your brake controller and perform a breakaway switch test if equipped. Validate cargo is balanced and secured with tie-downs. Conduct a final tug test on the coupler for solidity. Practice effective communication with your travel partner about these checks before departing.
Troubleshoot Common Latch Problems
Once you’ve confirmed all safety systems function properly, you’ll want to address any latch problems that could compromise your towing security. Start by inspecting the latch area with a flashlight—you’ll likely find debris like pebbles and sand trapped in the angled plate design. Remove accumulated debris carefully. Next, check for corrosion on latching mechanisms. While lubrication techniques using WD-40 can help, persistent rust signals replacement needs. Environmental factors like moisture accelerate corrosion, so consider your storage conditions. Test the adjustable nut underneath the hitch ball for proper tension—it should be snug without over-tightening. Finally, verify hitch ball alignment and check for bent or deformed components from previous impact damage. Avoid damaging the latch coupler pin area when attempting to force a stuck latch, as this underlying issue needs to be addressed rather than masked with temporary fixes. Address these issues before replacing the entire latch assembly.